Stargazing and photographing the night sky
The night sky is an amazing thing. Think about it this way: every star you look at is quite literally a part of the past. As fast as light travels — nothing travels faster — it still takes thousands and often millions of years to travel through the infinity of space. So by the time you see the light of a star that light has already been traveling for a very, very, long time.
There are a lot of things you can see in the night sky: stars, planets, comets, and the northern lights. The less light pollution — the glow from streetlights, homes, skyscrapers, and so on — there is around you, the less you can see. If you live in a city, the stars are there, but they're essentially hidden from you because of all the other light your eyes are taking in.
Fortunately for those of us in the Adirondacks, we don't have much light pollution and Tupper Lake, in particular, is known as a dark sky hotspot. It's also the location of the Adirondack Sky Center and Observatory, which hosts free public stargazing, educational programs, and other special events, such as its annual Sky Festival. Tupper Lake is ideal for stargazing and even photographing the night sky. Here are some suggestions on how to do both and enjoy the gorgeousness of the visible universe.

What the heck is astrophotography and how do I do it?
If you've ever seen a great, clear, sparkling image of the moon or one of the thousands of incredible images taken by the Hubble telescope, you might have wondered how it's done (actually, I can't tell you exactly how Hubble works, but there is a big mirror involved and a lot of time). When humans first began studying the night sky, the only way to document what they saw was through sketching and painting. Now, thanks to ever-evolving technology, we're treated to incredibly detailed photos of objects near and far, like those stars whose light travels millions of miles. The really cool thing is that you don't have to have a ton of fancy equipment to have fun taking photos of the night sky. You don't even need a telescope!
Pack your (camera) bag
Let's start with a little gear. You're going to need, at minimum, a camera and a tripod. I also recommend a remote shutter release. They tend to look like this, but they vary by camera model, so be sure to buy the right model for your gear.
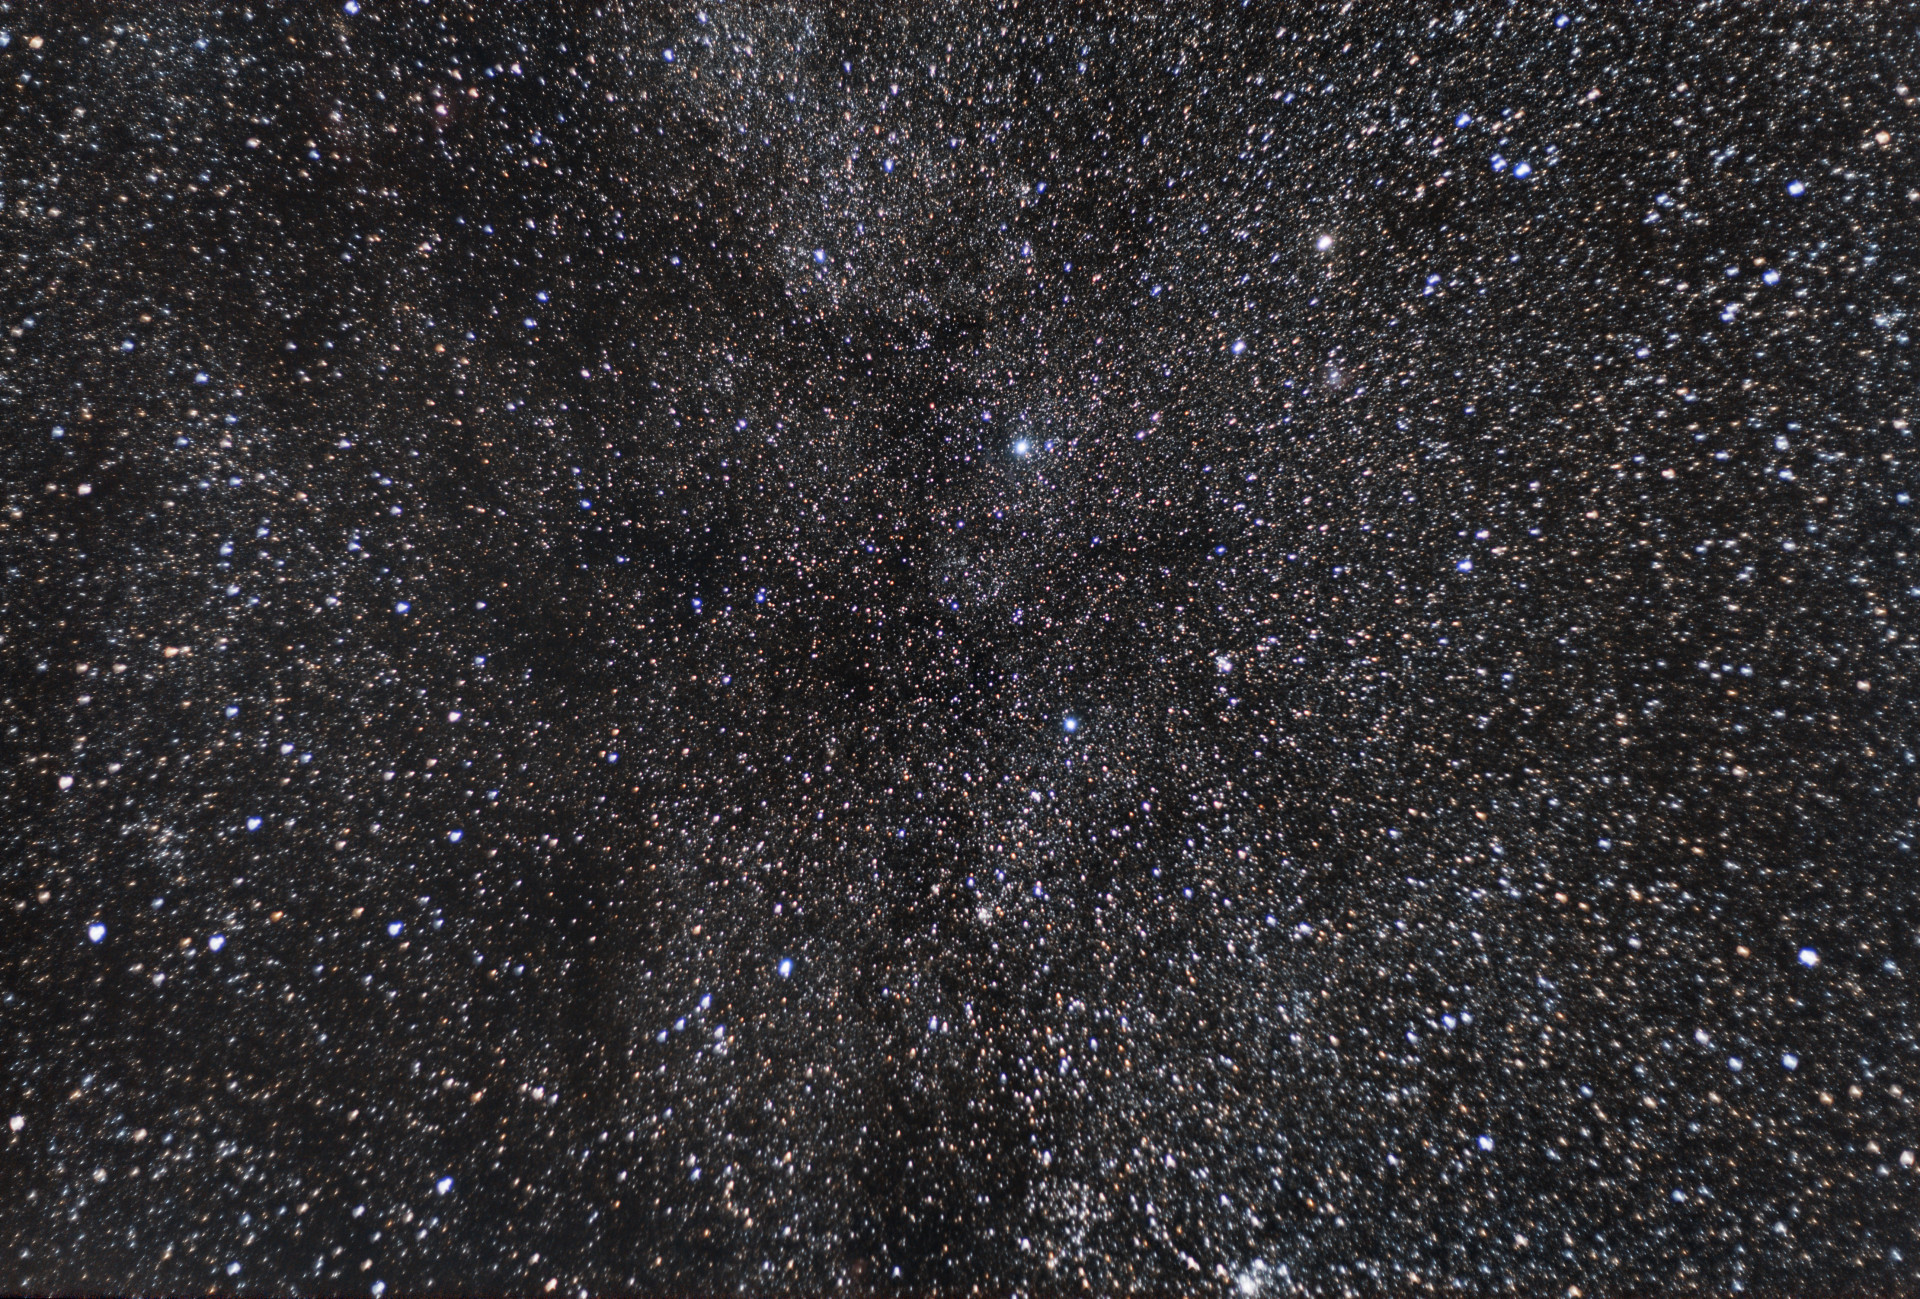
I shoot with a DSLR, because I love being able to interchange lenses — wide angle lenses are great for shots that incorporate the landscape, like the one above, while a good zoom lens is better for lunar details — but nowadays, you can definitely use a point and shoot camera, as long as you are comfortable changing settings.
A note about cell phones: if you have a pal with a telescope, hang out with them and experiment with putting your phone's camera up to the eyepiece. It can be done!
Going out and setting up
Anytime you go out to stargaze or take photos of the night sky, you want to think a bit about where you'll go. Open areas are best, offering you the widest field of view. With so many trees in the Adirondacks that can be a challenge, so think about places like meadows and beaches. In Tupper Lake, I suggest driving a few miles south on Route 30 to Rock Island Bay. There is a parking area on the right that is safe and not only is the view wide open, you'll also get a nice reflection on the water. North of the village, Little Wolf Beach is a good spot, as well.
Once you are in your spot, turn off your car lights and stop using your cell phone. I know it's dark, but white light is bad for your night vision and it will take a little while for your eyes to adjust. If you have a flashlight that happens to have a red light option, use that, as red light does not impact your night vision.

It's all in the details
Set your camera on the tripod with a nice, wide view to start.
Change your settings to M or manual, because you'll want to adjust almost everything, including your aperture, ISO, and shutter speed.
- Use a fast aperture of F2.8-F4
- Set your ISO to 400-800. Take a few photos and get a feel for what works for you.
- Experiment with exposure settings. If you are taking a wide image, you'll need a longer exposure time.
- Try about 30 seconds and adjust after seeing the results of that. The longer the exposure, the greater the likelihood that you'll capture some movement of the stars, creating "trails" of light in the image. However, shorter exposures mean that less light is captured by your sensor. Be patient and experiment!
- For a bright moon, you'll want a shorter exposure time. Fun fact: as bright as the moon is, the rocks it is made of are so dark they reflect only 10% of the sunlight that hits it.
- Using a remote shutter release comes in very handy with either type of photo. Set your exposure to "bulb" and use the button on the remote. This will greatly decrease the amount of shake the camera has while taking a photo.
- Focus manually; it is ultimately easier because most cameras have a very, very hard time with autofocus in such dark conditions. Be gentle and patient. If photographing the moon, use the edge of the disc to set your focus.
- Setting your white balance to daylight will help keep the colors of the stars accurate.

As you explore astrophotography, you can eventually graduate to more complex systems and tools. There are many options for amateurs to create truly awesome photos and capture images of distant objects.
With a simple metal adapter, a DSLR can be mounted in place of an eyepiece on a telescope. The telescope thus acts like a massive lens for the camera's sensor. This is a fun way to image other planets and details of the moon.

One of the neatest new tools for astrophotography is a tracking mount. The mount is aligned on Polaris and it follows the rotation of the Earth, so that you can take a longer exposure without star trails. At this point, you'll need to start learning more about processing your images to get the best quality, but it's a fun next step.

Finally, just because the sun is up doesn't mean you can't explore the sky. A variety of filters are available for cameras, binoculars, and telescopes that enable you to safely view the sun (do not ever look at the sun without proper equipment). Depending on the type of filter you use, you can see sunspots, prominences, and even objects passing between the earth and the sun.

This photo of the sun, taken by a DSLR mounted on a telescope with a glass solar filter, shows a cluster of sunspots near the equator and the planet Venus near the upper limb of the sun. This passage, known as a planetary transit, doesn't happen very often, and when it does it's a unique opportunity for both viewing and photography. It's amazing to realize that the little dark blob you're seeing is an entire planet! The next exciting transit is that of Mercury, which will be viewable in the Adirondacks on November 11.
To help you get started in solar viewing and imaging, the Adirondack Sky Center and Observatory is an excellent resource, through it's yearly astrophotography conference and other events throughout the year. I highly recommend stopping in at their office on Church Street to browse the gift shop and learn about their work. Stargazing at the roll-off-roof observatory is free and takes place on clear nights every Friday in the summer, and the first and third Fridays the rest of the year. You can view a variety of night sky objects, guided by dedicated amateur astronomers.
Tupper Lake has billions of reasons for you to visit, so start dreaming of stellar adventures today.